Wednesday, October 26, 2022

Activation Report: W6/CC-068 - Silver Peak


My wife, KK7HJL, is on a mission. She wants me to experience all the cool places she had lived before we met. To that end we have spent summers in Minnesota on her childhood lake, visited Leadville, CO and last Thanksgiving took our first trip to Catalina Island, off the Southern California coast. During our first visit we decided to do a backpacking trip on the Trans Catalina Trail, a 38.5 mile trail that traverses the island. I worked out a route so that we arrived in Avalon, the islands famous nightlife town, then walked our way to Two Harbors, a very small village where she had lived for 18 months after she first moved out west. Two Harbors is famous in the Sailing community and the subject of many songs from the yacht rock era. 

There are several SOTA summits on the Island, one of which was a planned rest stop along our route. I was only a very recently minted Tech/General and didn't yet own an HF rig so I brought along my recently acquired Baofeng but I hadn't really learned much about SOTA at that time and wasn't sure how to do an activation. By the time we reached W6/CT-281, we were dirty and tired after a sleepless night prior due to a Santa Ana wind event and I wasn't feeling up to fumbling through learning how to activate. The wind was blowing pretty strongly and there were other hikers wanting to sit in the limited shade provided by the small shelter so we moved on.

We finished the first 24 miles of the trail that afternoon just in time to get a shower and have some thanksgiving dinner at the Harbor Reef restaurant. The next morning our hiking companion had to depart on the morning ferry but before she boarded, we vowed to come back to finish the last 14 miles of the TCT. 


Fast forward 11 months and we were back on the Catalina Express from San Pedro to Two Harbors but this time our plan was to day hike the remaining 14 miles of the trail with the added bonus of a SOTA Activation on W6/CC-068, Silver Peak. 

This 1 point summit is definitely hard won. It took 6 miles and 2000 ft of elevation gain to reach the activation zone. The wind was howling in from the open ocean side of the Island and the cloud floor was dropping quickly. We hastily set up our stations and began calling CQ on 2M. Signal reports varied, but were mostly in the 5/5 and 5/7 range. It took us only 18 minutes to work 6 contacts each, including one summit to summit, just in time for the cloud deck to hit the ground.  

It was a very steep and loose 3 mile descent down Fenceline Rd to the West End Rd where we stopped and chatted with Ranger Laura while we ate some much needed lunch before the 7 mile slog back to Two Harbors. 

Getting to Catalina Island:

The Catalina Express ferry to Two Harbors leaves from the San Pedro Harbor Berth #95. Rates for the round trip crossing depend on the season.  The easiest way to visit is to stay at the Banning House Bed and Breakfast but if you are good to camp, the Two Harbors Campground is about a 1/2 mile walk from the Dock. You can have your gear hauled for $6 a bag, which is nice if you bring a large cooler or bag full of camping gear that you don't want to carry up to the campground. There is water at camp, along with porta potties. For cooking you will want a stove, though the camps all have fire rings, they aren't great to cook on. The only difficulty with bringing a stove is that fuel is not permitted on board the ferry, but most fuel types are available to purchase at the Two Harbors store. The store stocks everything you might need, if you are willing to pay the "island tax". Beer/Wine/Booze, Pizza, Ice etc. are all available. The Harbor Reef restaurant/bar is also an option. They are open 7 days a week for all meals.

Two Harbors Campground

There are two SOTA summits reachable from Two Harbors as day hikes, Silver Peak (W6/CC-068) and 1236 (W6/CT-281). 1236 is the easier of the two day hikes, only about 5 miles round trip with ~ 1500 ft of ascent. Both are very exposed, so bring plenty of water and snacks. The shoulder seasons are the best times to do these hikes due to the lack of shade/water availability once on trail. 

Wednesday, August 31, 2022

2022 Central Oregon Summit to Summit Party

S2S Ops at Worthy Brewing


It all started in July at the W7O SOTA Campout hosted by Amy AG7GP down at the beautiful Hyatt Lake Recreation Area in Southern Oregon. It was my first gathering of ham minded folks and I was looking forward to meeting and chatting with other operators, being a relatively new ham myself. I had done a handful of activations around Central Oregon with my wife and dogs and was excited to learn how others get things done. Additionally, my wife Randi, who had just that previous Wednesday taken and passed her Technician’s exam and was looking forward to making her first contacts, with her newly issued callsign (arriving literally hours before we go to camp).

Not long after we arrived, K7ATN came over to check us in and introduce himself, referring to me as “that new guy from Bend” and gave us a quick rundown of the “plan” for the weekend. We had a lot of fun that weekend. Saturday night as we chatted and drank some of Jeff’s, KJ7VDP, delicious home brew, ATN pitched the idea of a Central Oregon Summit to Summit party later in the summer. Tim, N7KOM, had plans to do a bigger summit and he  thought it would be nice to coordinate some operators to chase as the area can be difficult to work. I agreed to help as best I could.

Not very long after we arrived home from the campout weekend I received an email from ATN describing previous S2S parties hosted in the Willamette valley and I got excited about the prospect. We settled on a date and started sending out communications to the local hams and clubs to raise some awareness and try to gather a few more locals into the fray.

Interest started slowly but we ultimately gathered 14 operators on 10 Summits, with a last minute entry, bringing the total to 15 Operators on 11 Summits. Operators included, ⅔ of Oregon’s SOTA Mountain Goat population, a famous Mountain Climbing-YouTuber, 3 YL’s and 2 brand new to SOTA operators with 5 of the total from the Central Oregon Area.

Net Control Station on W70/CM-038


Since we had so many folks and to make the party move along at a reasonable pace, I acted as Net Control on 146.58. Starting at 1800 UTC, I took check in’s and gave my signal report to get myself out of the fray. Once we had everyone checked in, we went down the list, letting each subsequent operator make calls to summits that they could hear but had not yet talked to. The idea being that by the end, there shouldn’t be many other operators the last person on the list need contact. It was a little confusing for newer folks but in the end it worked great. After about 40 minutes, I shut down the net and we all descended our summits to meet up for some cold drinks and food at Worthy Brewing Company in Bend.


At lunch, Tim N7KOM and Bill N7WXW decided to summit S. Sister the next morning since they didn’t have time to do it for the Party. We coordinated enough folks to get them both S2S and S2 Rooftop contacts early on Sunday morning so as to get them back to their vehicles at a reasonable time.

Summit to Rooftop with N7KOM and K7WXW

Thanks to all the operators who participated: W6PZA, WJ7WJ, NW7CQ, W7SCY, NE7ET, KG7JQY, N7FOP, K7WXW, N7KOM, KJ7VDP, KK6CN and especially KK7HJL for supporting me in this strange and nerdy sport. A special thanks to K7ATN for planting the seed and helping coordinate.

Sunday, June 19, 2022

Activation Report : Horse Ridge - W7O/CE-176

I wasn't sure if I was going to get out to activate this weekend due to the rain in the forecast but things cleared up and it began to warm up so I decided to check out the Horse Ridge activation. I've ridden mountain bikes in the area quite a bit but mostly on the Northern slope of the area. The activation zone is on the southern most ridge, on the opposite side of the Golden Valley as its knows to the local riders. Looking at Google maps I planned to approach from the east via a double track that looked accessible from road 2015 but as I turned onto the double track I noticed the Private Property signs.  I continued up the road until I got to a gate and a lot of shelled out old RV's and decided it was a good turn around point. 


Planned route (red) wasn't accessible due to private property

I pulled up the SOTA Goat App and found a spot to park off of Ford Rd. that was about a 1/2 mile below the activation zone and decided to use my GPS to guide me to the summit.


The hike up started out pretty loose and soft sand, but become more stable but rocky at the tree line.  It took me about 30 mins to get to the top and another 15 to find a spot and setup.

I found an old fence post that made a perfect hitching post for my telescopic pole so I hung the 20 meter wire, assembled my chair and assembled the kit.  

The contacts came slowly and I struggled a bit copying callsigns but brought a new tool with me this week, a Sony digital recorder with the idea that if I didn't copy the calls after a couple of attempts I could review once at home. This turned out to be a great idea and helped me relax a bit.

I made a total of 5 contacts, 4 on 20 and 1 on 40. I tried my hand on 17 but nothing heard. 

After about 90 minutes I decided to pack it in and head back down the hill to the truck. The hike down only took about 17 minutes. Watch you step, there is plenty of opportunity to trip on a rock.


Thursday, June 9, 2022

Activation Report: Pistol Butte W7O/CM-091 : First CW SOTA Activation

After an aggravating day at the J O B, I decided on an impromptu SOTA attempt with my newly built Penntek TR-35. I spent part of my morning building a Google map of an area near Sunriver, OR for a future Moto-SOTA adventure. Most of the summits in the area are drive/ride-ups but there are two that require a short hike, Pistol Butte and Bates Butte. I've been up Bates Butte on foot and mountain bike before, so I decided to try Pistol Butte. 


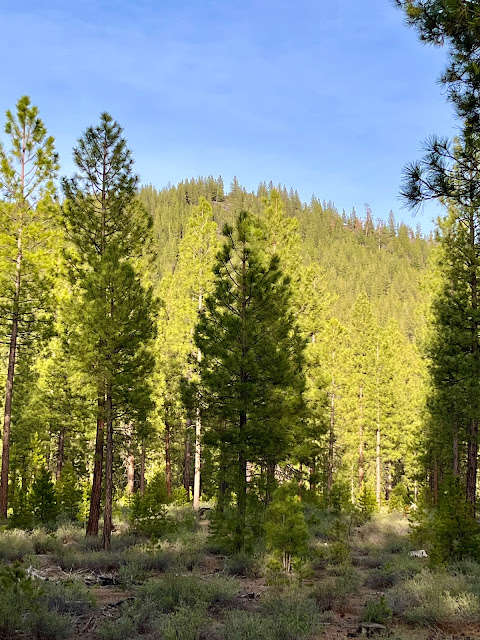
Pistol Butte from the West

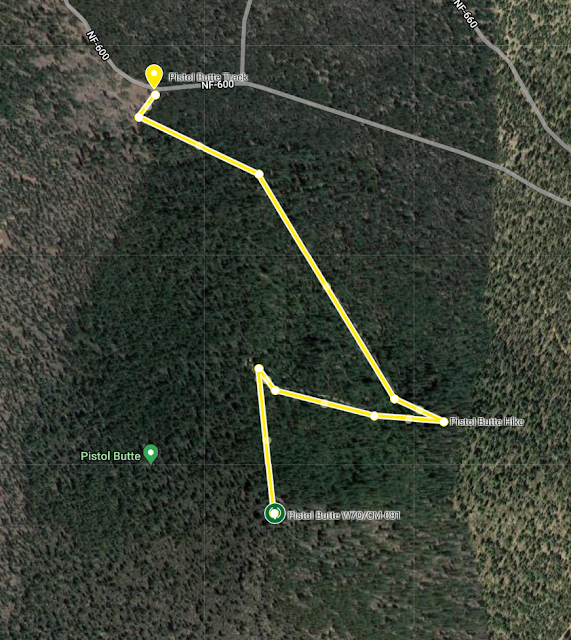
Its about a 3 mile drive on good gravel/dirt after turning off the pavement off South Century Drive ~ 10 miles SW of Sunriver. The access road is rough so I parked the van at the intersection of FS-600 (43.82181, -121.55954) and walked up the road. The road goes up quickly but wasn't too steep until the last 200 yards or so, where it pitched up dramatically and I was happy I brought my hiking poles. I think the road could be done with a Jeep or motorcycle, I saw evidence of moto and UTV tracks. There is a really nice camp spot just below the summit, where the pitch increases,  if so inclined.

Parking spot and access track

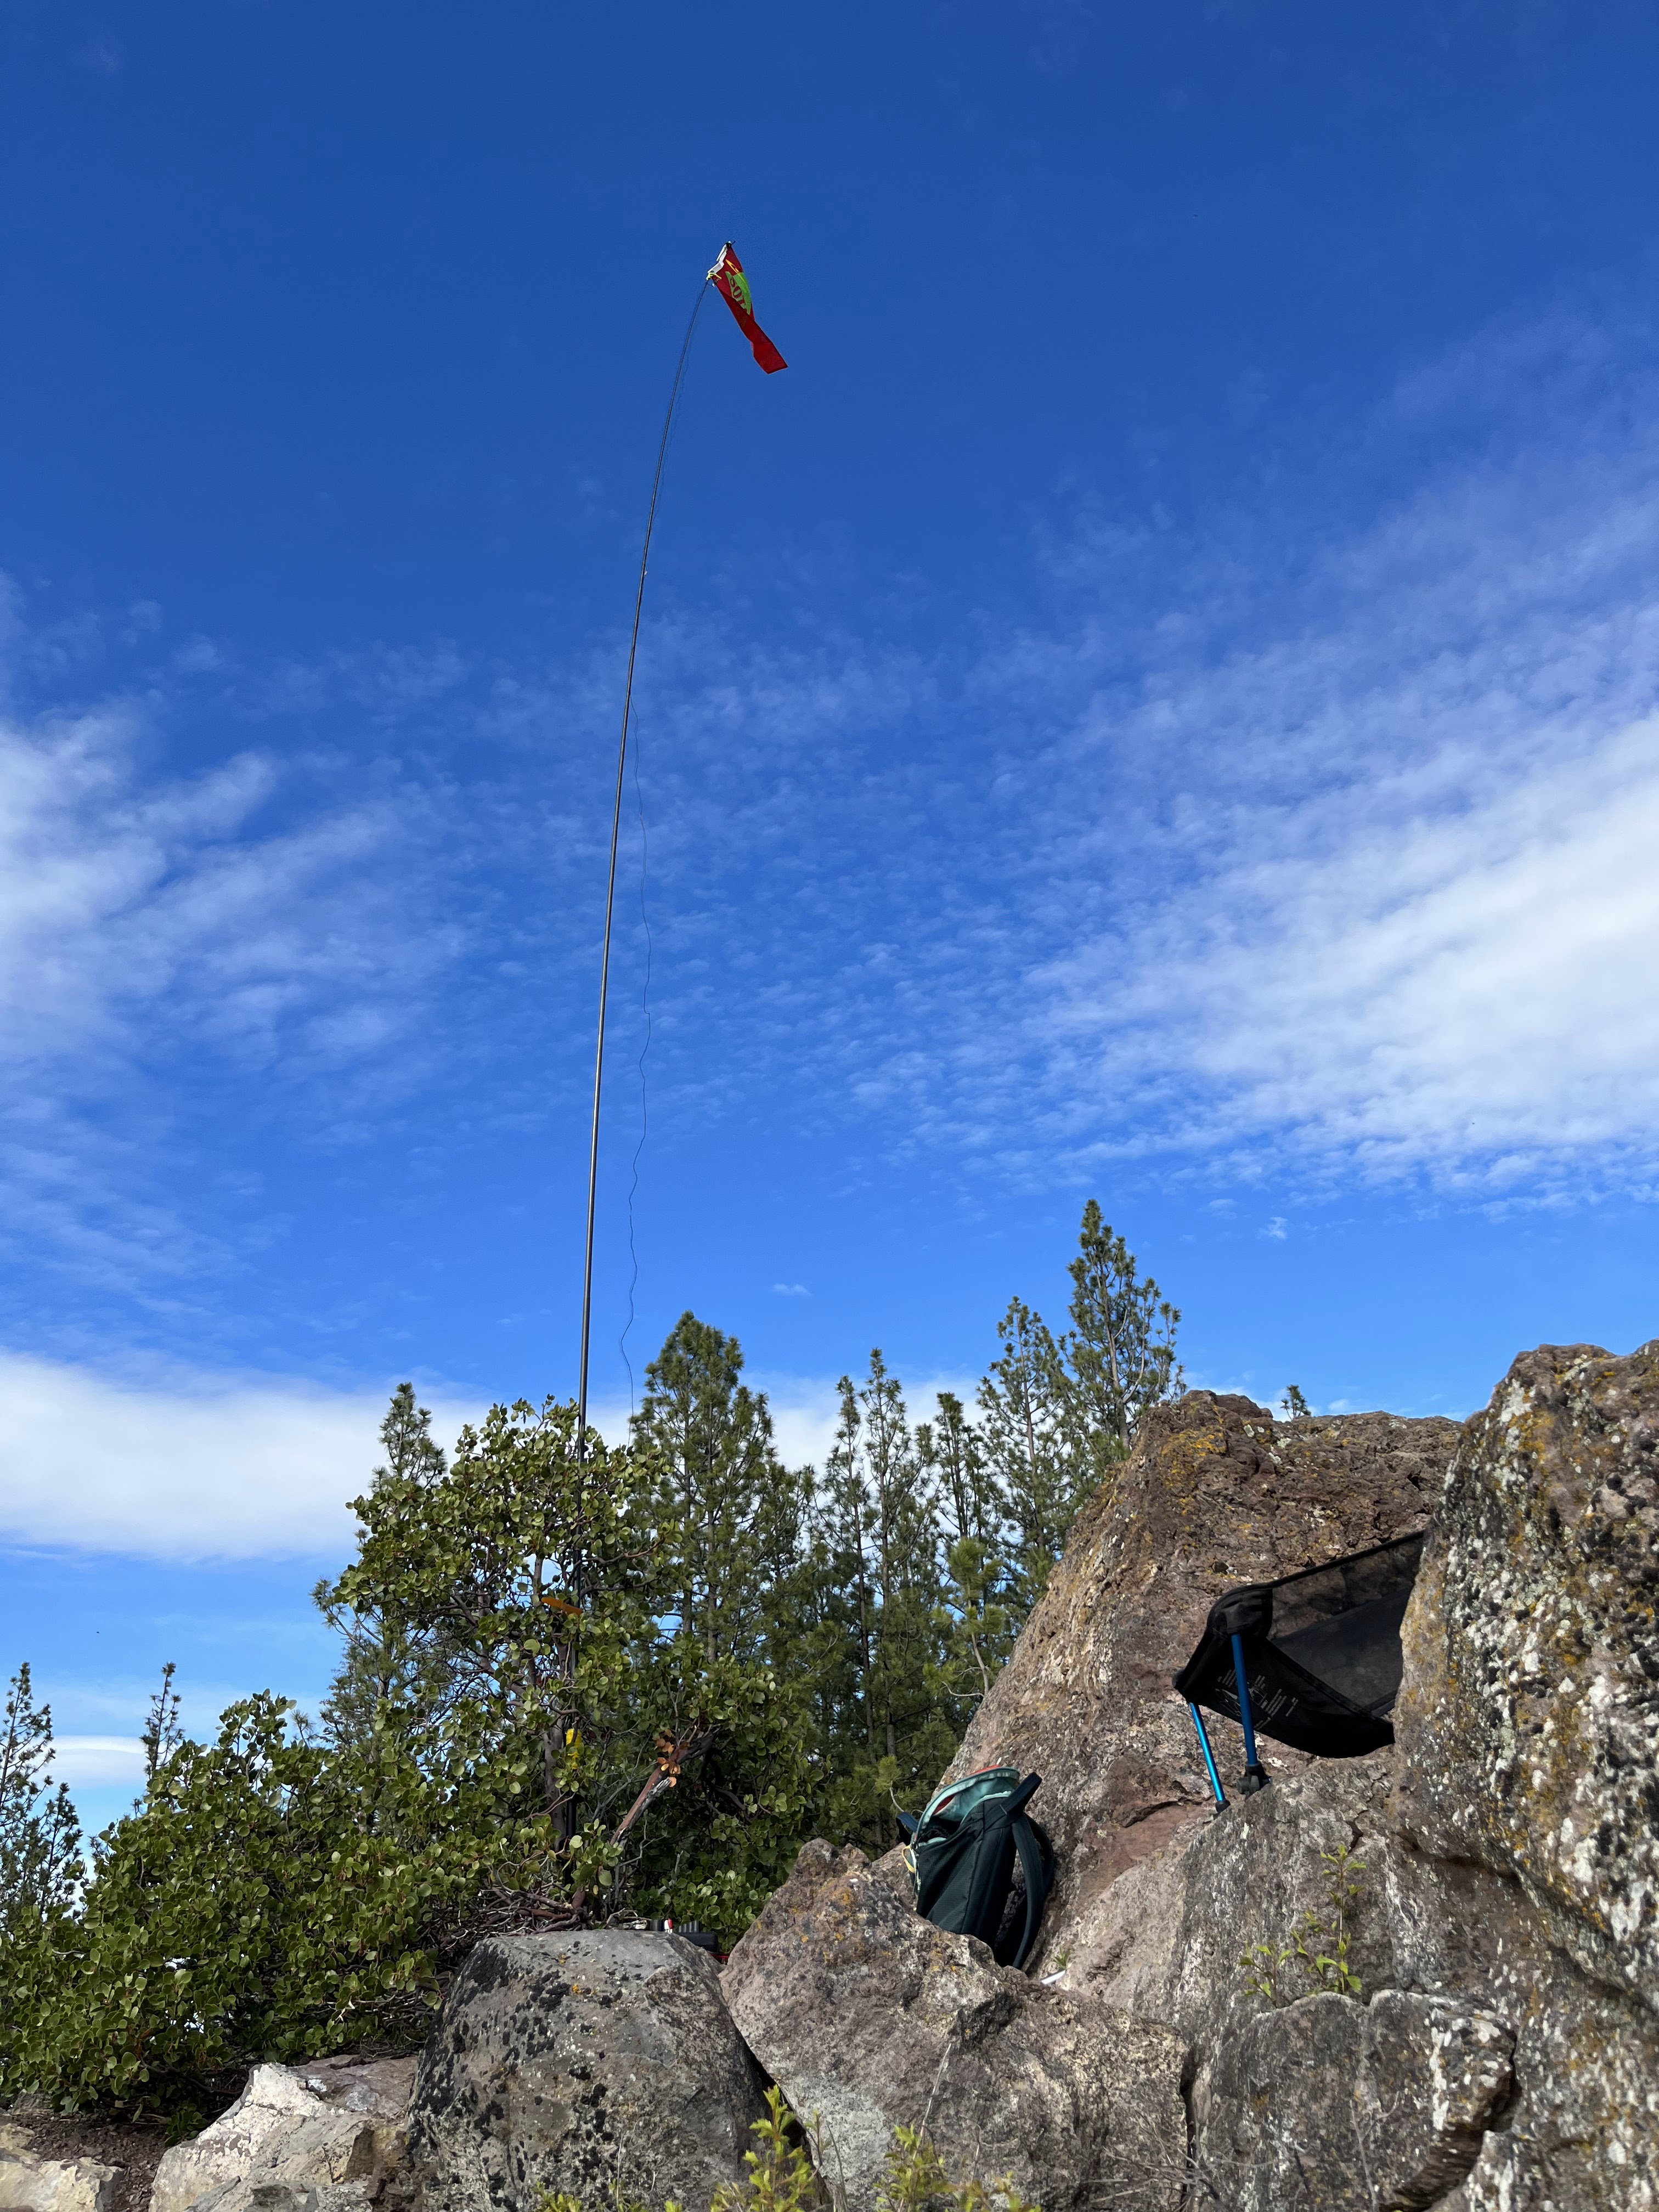
Once at the top I found a nice spot to setup on the west facing side of what appears to be the remnants of an old fire lookout. Temperatures were in the low 70's but there was a light breeze so I donned my jacket and sat down to try my hand on 20M. Using the built in memory on the TR-35, I keyed my CQ a couple of times until I had it just right and let'r rip. Crickets. More CQ. More Crickets. After about 35 minutes of nothing hearing anything, I decided to try 40M before packing up and heading out. That is when I noticed the ticks all over the place. I guess the wet spring was good for them, I'm not used to seeing so many ticks in our part of the world and was glad I was wearing long pants, a hat and shirt sleeves (not to self to do a thorough look-see when I get home). 


After about 10 minutes of calling CQ on 7.061 I started to get a few responses. Between my nervousness and some QRM, I had to ask for lots of repeats but I managed to confidently copy several QSO's. I had planned to pack up and 6:45PM to be sure to have light enough to get down and home in time for dinner. I was still short one QSO for the points so I hit the memory key one last time at 6:44:30 and started to pack up my chair. NT6E came back and after only one ..--.. I had my final QSO so it was time to pull the antenna down and get back to the van. 


It took me about 15 minutes to descend to the van and call it a successful activation. Thanks to 
  • WB6POT
  • NN7M
  • NT6E
  • KG7WOT
for the patience as I stumbled along. 

73 ..

Sunday, June 5, 2022

Penntek TR-35 4 Band CW Transceiver - First Transceiver Build

WA3RNC Penntek TR-35 4 Band, 5 Watt Transceiver

One of the things that drew me to amateur radio is the kit building aspect. Only weeks into the hobby, and before I had my hands on an HF rig I was ordering parts for an End fed random wire build I found on the AARL site. The first build went well but I haven't been very impressed with the performance from the QTH. Since it's a random wire antenna, it requires a tuner in the field, which I don't have with me normally so it hasn't seen much use.

I've built a couple of other antennas since with the K6ARK EFHW being my favorite but I wanted to up the challenge. I love the Icom IC-705 but its a bit heavy for SOTA Ops so I decided I wanted to build something smaller. I've been learning CW so I shopped for a really small, simple CW only kit. I looked at several packages and settled on the QCX Mini from QRPLabs. I ordered the package with the aluminum case and ACG module at a total of $84 before shipping, seemed like a good deal except for the 2 month wait.

Not long after I ordered the first radio I saw a video from Thomas, K4SWL, on the Penntek TR-35. I had looked at the radio previously but thought it a lot of money for a CW only radio that didn't have any memory. One thing I love about my IC-705 is that is has 10 recorded memories for both voice and CW, which is almost a requirement for calling CQ lest one get a hand cramp in the field. Everything else about the radio looked fantastic, 4-Band, 5 Watt transceiver in a nice plastic case to reduce weight. There are a lot of features packed into this little radio and you can even have it assembled by pro's at the factory if building isn't your thing.  WA3RNC continually adds to the software and the latest update includes two memory channels that Thomas demonstrated during and activation and I was sold. I ordered a kit before finishing the video and it arrived in less that a week.

The kits is really, really well put together. The instructions are very clear and verbose. The parts are packed in sealed strips, with each step's parts in a separate little "bubble", so as long as you only open the current steps parts and complete that step prior to opening the next, you will never loose parts. I found this very, very helpful as this was the most complex kit I have assembled to date. 

The instructions are broken into four discrete parts:

  1. READ ME FIRST
  2. TR-35 Upper Board Assembly Instructions
  3. TR-35 Lower Board Assembly Instructions
  4. TR-35 Preliminary Checks, Tests and Final Assembly
Also included are a schematic and Operating Guide. 

This being a rather expensive kit, $279 USD, I didn't want to screw anything up soI read through the entire assembly instructions and highlighted things that seemed important or would be easily missed. This is something I learned after a couple failed builds due to missing a detail because I misread or was in a hurry... doh! 

The entire build took me ~ 5 hours, though that was spread out across a couple of weeks as I had a trip and lots of work to do during that time. Usually when I build a kit I want to sit down and complete it start to finish so I don't loose anything but as I mentioned previously, the way this is packaged made it easy to complete a step when I had 10-15 minutes of free time over the course of the build.  Since the toroids are pre-wound, it is mostly a soldering build. Having a good quality, heat controlled iron, good solder (Kester 60/40 lead) and flux (not a requirement) and side clippers are a must. The only other tool I used was my multimeter during initial testing. 

Once completed, I let it set for a few days so as not to rush the testing. I re-read the Preliminary Checks guide and made a checklist of each of the tests so I didn't miss anything. Testing took me an hour or so, other than having to wait for new fuses for my Multimeter's ampere testing circuit so I could do the Final RF amplifier bias adjustment. Everything checked out, so I decided to power it on and make the final adjustments before testing it on the air. With those final steps completed and the final assembly of the case, knobs, buttons, switch covers done, I hooked it up to the 20 M dipole I have on the roof and listened. I was astonished that it worked and I managed to not screw anything up. 


I've now had it out in the field a couple of times and used it in the backyard several times and am very impressed. My only gripe right now is that the output volume of the keyer and the overall output are linked, so when listening to faint signals I have to remember to turn the volume down before I key lest I blow out my eardrums. This may be something I can adjust but I haven't investigated yet. I have made a couple of contacts on 20M and intend to do several SOTA activations in my neighborhood in the near future as well as build the QCX Mini and do a comparison. 
 

Thursday, May 26, 2022

K6ARK End Fed Half Wave (EFHW) build and test

 I watched a video on the Ham Radio Crash Course about this very tiny and relatively easy-to-build antenna a few months ago and bought one right away from Amazon. It only took about 30 minutes start to finish, the hardest part being attaching the surface mount capacitor as the video describes. I have since use it pretty much exclusively when activating the in the field. I even had a SOTA SSB QSO with Adam, K6ARK, himself during a SOTA activation at Smith Rock State Park! 

I am using 18 gauge wire cut for 20M. I used my NanoVNA to tune and marked 10-20M on the wire with various colors of shrink wrap to differentiate the bands. I have a second length of wire that I added banana clips to connect so I can get up to 40M if I want to. If I want to use a new band I unroll from the Buddipole wire holder to the marking and check the SWR function on the IC-705 in the field and so far have had pretty good success. I've done several POTA and SOTA activations using SSB with the antenna. I love how simple and portable this setup is.

This is a great DIY antenna project, it simple to build and easy to use and I'd suggest it for anyone interested in field QRP activating.


K6ARK End Fed Half Wave QRP antenna with wire on Buddipole winder

Thursday, January 27, 2022

FT8: Why I started my DX'ing with FT8

 Why did I start my HF journey with FT8?  

As a new ham there are a lot of options to choose from when getting on the air, so many that it can be overwhelming. Initially, I wasn't that interested in digital modes, however running a low power rig (Icom-705) limits ones ability to make contacts. I wasn't having much success with SSB and I really wanted to start logging some contacts while learning how to DO HF. 

I had been hearing a lot of chatter on the local VHF repeater about FT8 so I decided to install WJDT- X and watched some videos on doing FT8 with the IC-705. I run my shack on an System76 Ubuntu 20.04 machine, which almost always requires some fiddling to get new hardware running. I struggled for a few days to get things all working together and eventually read a blog about JTDX, which is based on WSJT-X, but seems to work better on Linux. I added an RFI choke to the USB cable to help reduce with the connection problems I was having. I was able to start making contacts as soon as I had my system stable (no app crashes or radio disconnects) and have been adding to my logbook since.

FT8 is a great entry point for new DX'r due to its low skill/knowledge threshold when compared to SSB or CW.  As a newbie, there is a ton to learn and having early success at making contacts got me hooked. I was a bit worried after I bought the IC-705 as I started reading that it wasn't a great choice as a first HF rig but it I am finding it a fine way to get going with an out of the box FT8 configuration. The simple, automated process of an FT8 QSO teaches the new Ham the basic elements of a QSO, Name, Location and RST. I found a PDF FT8 Guide that also helped boost my confidence and knowledge.


Activation Report: W7O/CE-213 - Awbrey Butte,OR | February 2023

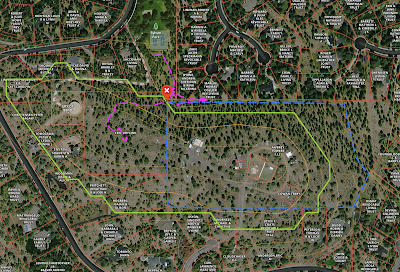
Awbrey Butte Summit Green: AX, Magenta: Trail, Blue: Fence line After a little encouragement from Tim, N7KOM, I decide to try Awbrey Butte, ...